Monday Motivation: Exploring Trees and Bark
Earth Day · Experiments · Fall · First Grade · Hands On · Interactive · Kindergarten · Lesson Ideas · Monday Motivation · Non-Fiction · Plants · Science · Uncategorized
Welcome to the return of my weekly blog series, Monday Motivation!
Now that I’ve gotten into the “groove” so to speak at my new school, I feel like it’s time to kick off my Monday Motivation series. This series is all about lesson ideas, classroom tips, behavior management ideas, and more! Make sure to follow my blog if you’d like to keep up with this series.
On to the good stuff…
As a bit of background, we’re in the midst of our Tree Unit in science. We’ve reviewed concepts the kiddos learned in Pre-K about trees – needs, basic parts of a tree, etc. This week we dove deeper into trees by exploring tree bark. Using some hands-on centers to anchor our learning, I think my kiddos came away with a solid understanding of what bark can look like, why trees have bark, and a basic intro as to how it is formed.

Here’s a look at 4 centers focused on exploring bark. They’re easy to set up and lead to GREAT conversation!

Using modeling clay or [Crayola Model Magic], students press and roll tree cookies to create imprints of tree bark. This is a great way to explore how different types of trees create bark that make different imprints. It’s also a fantastic activity because you can leave the clay out to dry for a cute take-home piece.

A large function of tree bark is protection of the tree from outside elements (like the skin of a human). To help illustrate how tree bark keeps things out, students hypothesized how many water drops it would take for water to soak through tree bark. Then, they tested their hypotheses.
I definitely recommend using a piece of bark that is large enough to place across the top of a bowl (as in the second picture above) because it keeps the bark out of any water that runs off the bark. Kiddos can pick up the bark and see that it takes quite a few drops (and some patience) for the water to soak through to the other side of the bark. Even then, it doesn’t simply run through.

Another simple, yet effective, center is observing tree bark using touch, hearing, sound, and sight. Adding in hand lenses, or magnifying glasses, is even better. The kiddos started to notice things beyond the bark – marks on the wood layer, what looks like tunnels, etc. Perfect priming for us to move into the cambium layer and xylem/phloem next week!

Last week I went outside one day after school and took pictures of the bark of several trees right around our classroom. I printed and laminated these to create a tree bark matching activity. This center is super versatile! Students can go outside in teams (with adult supervision) to try and find the tree that each picture matches. This led to some of the best conversation of the day because students were unknowingly using great description words to justify why a certain picture match a tree or not.
I’m fortunate enough to have an assistant that was able to go outside with groups, but I know many teachers don’t have an extra set of adult eyes. Therefore, this could be done with a whole class. Additionally, you can make two sets and students can match the pictures in class OR sort them by characteristics they observe.
I hope that these centers will be useful to you or at least spark an idea for your classroom! If you have any hands-on activities for exploring trees, please share! I love new ideas!
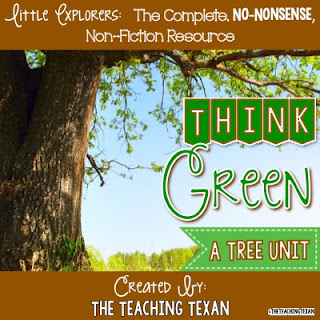
Looking for more resources to add to your Tree Unit? Check out my [Think Green: A Non-Fiction Tree Unit] resource! It’s packed full of resources to build vocabulary, boost writing, and increase comprehension of non-fiction texts/concepts.