Monday Motivation: Making Recycled Paper
Craftivity · Crafts · Earth Day · Experiments · Fall · First Grade · Hands On · Kindergarten · Lesson Ideas · Monday Motivation · Plants · Science · Social Studies · Uncategorized
Happy Monday!
I always say that October is absolutely my favorite month of the year, but for some reason it seems to be the busiest as a teacher. Maybe it’s the first round of report cards/development records, parent conferences, or a host of other things. It’s likely the combination of it all, but I’m forcing myself to make time for things I enjoy – like blogging.
Since it’s a Monday, why not share some Monday Motivation?!
We’ve been marching through our tree unit in science for some time now. We have wrapped up the structure and function of various tree parts and moved into tree products. You can learn more about some of our other tree activities [here].
As we near the end of our tree unit, I thought it was important to talk about the impact that cutting trees down to make paper has on our world. Even more, what impact does all the paper waste have?!
After using a couple of trade books to illustrate how paper was made centuries ago and how landfills have filled with paper products (amongst other recyclable trash), we dove into creating our own recycled paper.

This may seem like an impossible stretch for a Kindergarten classroom – but I promise the kids absolutely LOVE it, and it really helps them see how much effort it takes to recycle just a small amount of paper. (We’ve been discussing using paper wisely so there is less waste, but we still have a huge tub of scrap paper. I’m sure not a single Kindergarten teacher out there is surprised about that!)
If you’d like to re-create this activity in your classroom you’ll need: scrap paper (construction paper, cardstock, newspaper, magazines, etc), a blender, felt, sponges, 2 $1 frames from Michael’s, screen (can purchase at Home Depot or Lowes), tubs filled halfway with water (big enough to submerge the frames).

I grouped my kiddos by their table groups to decide on a color for their recycled paper from the scrap paper we had available. We had construction paper, cardstock, white printer paper, and some newspaper. All 4 groups ended up mixing several colors to see what the outcome would be.

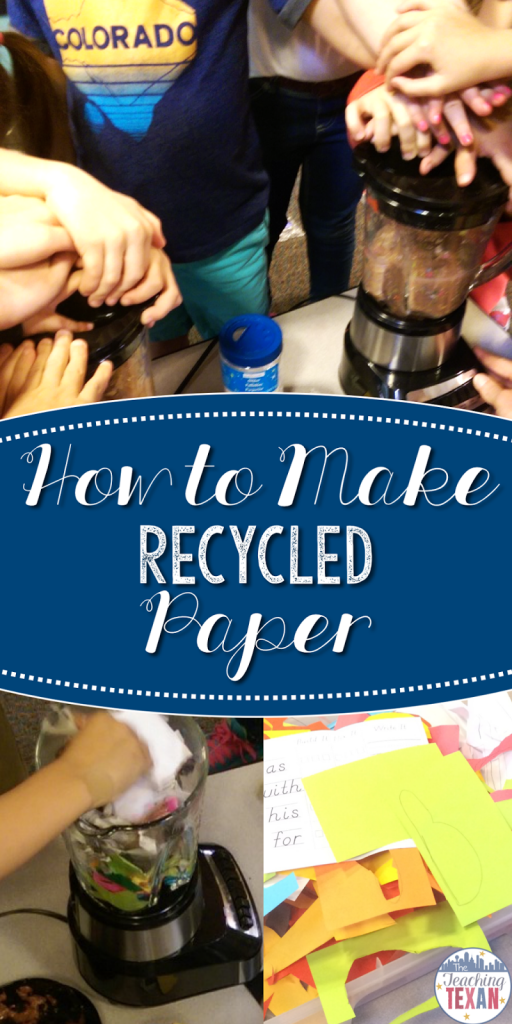
We needed all hands on deck to rip the paper into smaller pieces to make the blending process go a little more smoothly. I don’t have an exact amount of paper vs. water ratio, but I’ll say air on the side of more paper – you can always add more water to the blender AND you squeeze the water out in a future step, so you really can’t use too much.

I operated the blenders while the kiddos helped “hold” the lids on. Lets be honest, the lids weren’t going anywhere, but keeping them involved in the process was important!

After we had a nice looking “pulp,” we added a bit of glitter to the mixtures as well as some seeds. The seeds add texture AND the kiddos were excited to know they could plant the recycled paper and grow plants from it.
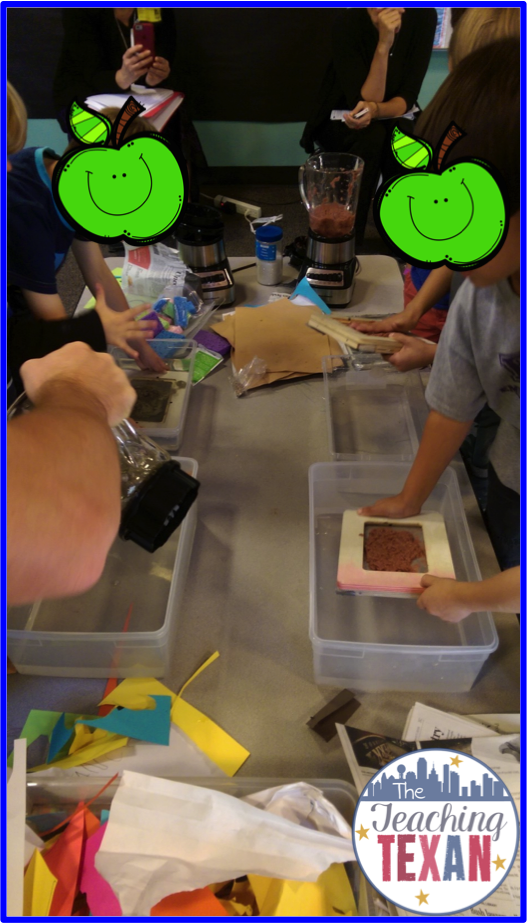
I poured a bit of the pulp onto each groups’ frame apparatus. These are just two $1 frames from Michael’s (one that has screen attached and one without). The screened frame acts as a sieve to allow water to drain out while the top frame acts as a mold for the paper’s shape.
After the pulp is poured, the kiddos used sponges to help flatten the pulp and push out extra water.
I helped them transfer the wet paper to a piece of felt (absorbs more of the water) by flipping it onto the felt. It takes a good day or two to completely dry, unless you use a blow dryer or iron on low heat with a barrier between it and the paper.

The finished product looks a little something like this. I know there are ways to make it thinner, flatter, etc. but for the purpose of our lesson this was just fine! Sometimes keeping things simple (as hard as it may be) is really the best.
This makes a great addition to a unit about trees, recycling, or even for Earth Day! Happy October y’all!
Wow, that seems just fantastic!! I appreciate your efforts of creating your own recycled paper in the kindergarten class. It is great to know that the kiddos also loved this process. I would love to try it in my Phoenix kindergarten class.