How to Make a Teacher Toolbox (Step-by-Step + Editable Labels!)
How to Make a Teacher Toolbox for Stress-Free Classroom Organization
If you’ve ever stood in front of your classroom searching for a paperclip, binder ring, or that one random push pin you swear you just saw—you’re in the right place. A teacher toolbox is one of the simplest ways to stay organized, cut down on clutter, and make those tiny everyday materials easy to grab during teaching.
When I made my first teacher toolbox, I didn’t realize how much smoother it would make transitions, small group prep, and even end-of-day clean-up. Now? I can’t imagine teaching without one.
So if you’re ready for a classroom setup that feels calmer, cleaner, and way more functional — let’s build your teacher toolbox!
What Is a Toolbox for teachers?
A teacher toolbox is a small drawer organizer (think of the kind found in the hardware aisle) that holds all your tiny classroom supplies. Instead of rummaging through bins, baskets, or the bottom of your teacher bag, everything has a labeled spot.
Teachers use their toolbox to store things like:
- Paperclips and binder clips
- Sticky tabs
- Push pins
- Expo markers
- Flair pens
- Bandaids
- Post-its
- Brads, magnets, labels, and more
Basically… all the little things that always seem to disappear when you need them most.

Why Teachers Love Using a Teacher Toolbox
A teacher toolbox isn’t just cute—it’s functional. When everything has a home, classroom organization becomes easier for you and your students.
Teachers love the teacher toolbox because it:
✔ Saves time during lessons
✔ Keeps small group supplies ready to grab
✔ Reduces clutter on desks and surfaces
✔ Helps students become independent helpers
✔ Makes classroom organization feel manageable
And yes… a matching set of beautifully labeled drawers just makes a classroom feel polished and intentional.
What You Need to Build Your Teacher Toolbox
Here’s what you’ll need to get started:
- A drawer organizer (I personally use this one from Amazon, and you can often find the same brand at Lowe’s or Home Depot)
- Printed teacher toolbox labels
- Scissors or a paper cutter
- Double-sided tape (don’t bother trying to stick them any other way because they fall off!)
- Optional: Laminator for durability of the labels
- Optional: Spray paint if you want to customize the frame color
Step-by-Step: How to Make Your Teacher Toolbox
Creating your teacher toolbox is low-prep, simple, and absolutely worth the thirty minutes it takes.
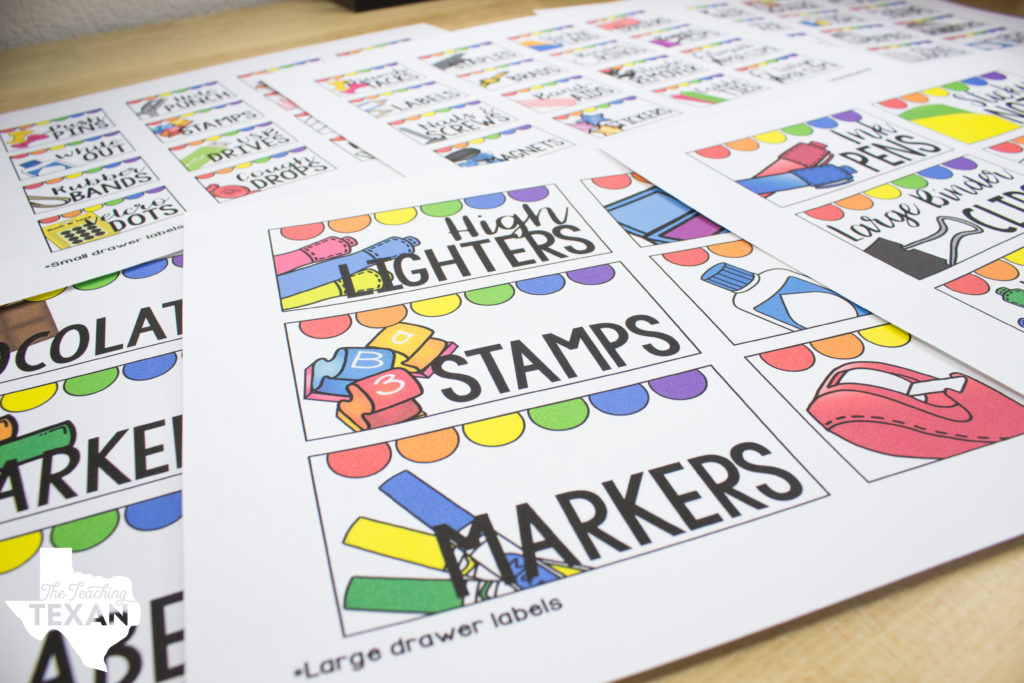
Step 1 — Choose Your Label Set
Pick labels that match your classroom vibe—these bright teacher toolbox labels are clean and go with so many aesthetics. Editable labels are great because you can match the drawers to the exact supplies you keep.
Step 2 — Print + Trim
Print your labels on cardstock for durability (regular paper can work, but mine has lasted for years using cardstock). Use a paper cutter for clean edges (your future self will thank you).
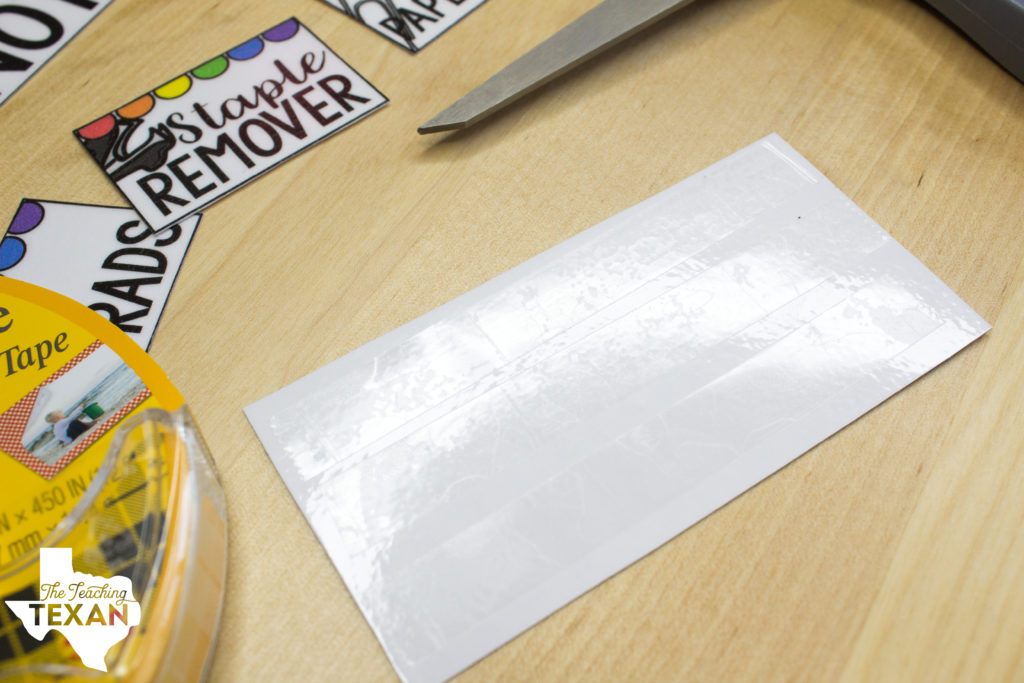
Step 3 — Insert Labels
Use double-sided tape to attach each labels to the outside of the front of the drawer. This keeps them firmly attached — and if you ever want to change out the labels, simply peel them off.
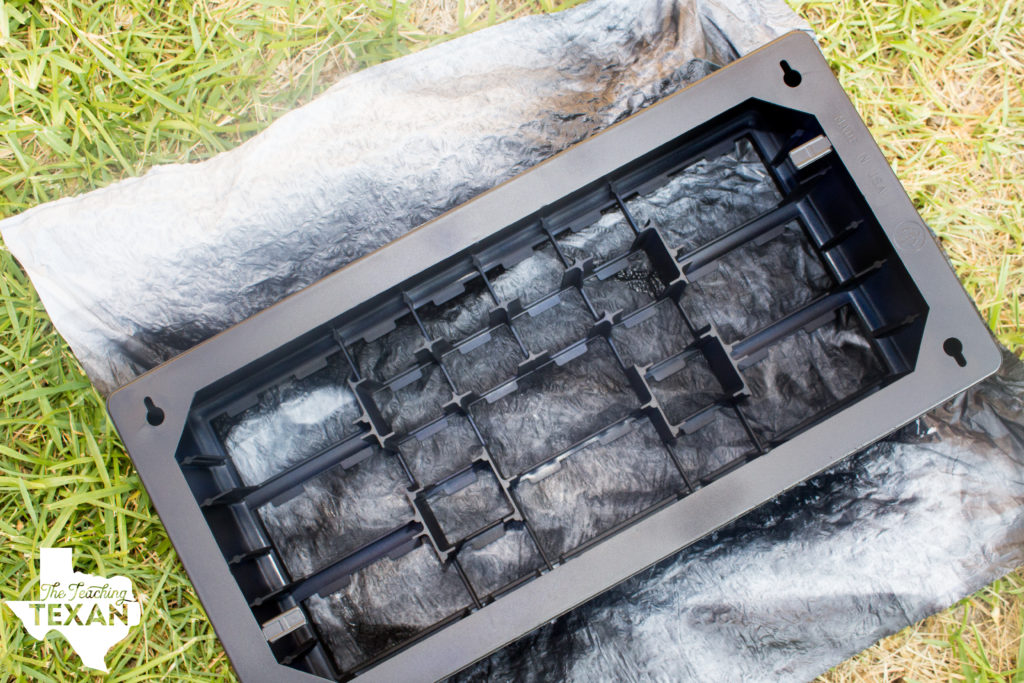
Step 4 — Customize (Optional)
Want a different color frame or drawer front? Spray paint works great—just be sure to let it fully cure before assembling.
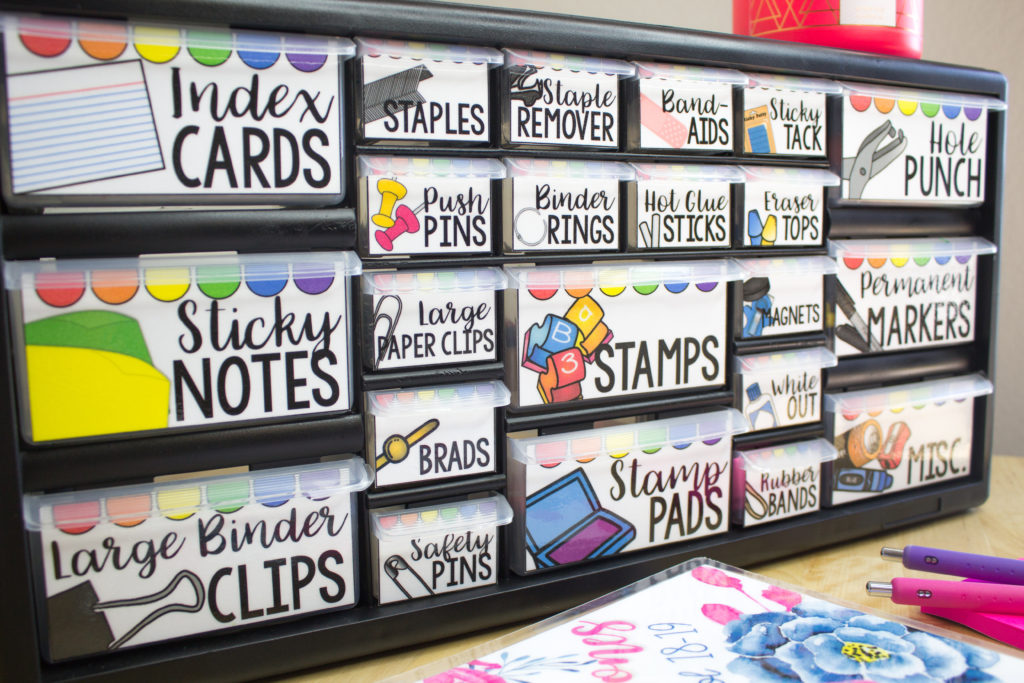
Step 5 — Fill It Up
Add your supplies and admire your handiwork. Seriously—this is one of those classroom organization projects that feels so satisfying.
What to store in your Teacher Toolbox
Not sure what to add? Here are ideas teachers love:
- Paperclips
- Binder clips (small + large)
- Velcro dots
- Label tape
- Flair pens
- Sharpies
- Washi tape
- Sticky notes
- Brads
- Bandaids
- Push pins
- Glue sticks
- Reward tokens
- Rubber bands
You can customize your toolbox to fit exactly how you teach.

Teacher Toolbox Tips for Long-Term Success
- Keep extra labels ready so you can swap drawer contents without reprinting everything.
- Store only one category per drawer — the more specific, the better.
- Keep drawers empty if you’re not sure yet — blank space is a gift.
- Place your teacher toolbox somewhere you can reach without moving from your teaching area.
WAnt these exact labels?
If you’d like the same bright labels featured in this post—they’re editable, match most classroom color palettes, and ready to print.

👉 Grab the Bright Teacher Toolbox Labels here

Love this! I purchase this and made this project for my classroom! I was wondering what software program you use to create your projects? Thank you!
I use PowerPoint to create a lot of my resources! 🙂
Thank you for sharing. I found via Pinterest. Going to use this in year two of my teaching!!