What You Need to Know to Create an Inspirational Dinosaur Dig
Hey y’all! I’m excited to share a super fun activity today dubbed “Dino Dig”. My little Kinder paleontologists really look forward to this day each year as the culmination of our dinosaur study in the spring. It’s a great way to take advantage of some gorgeous Texas spring weather (which pretty much only lasts a day or two!) and spend a class period outside applying the dinosaur knowledge students have learned over several weeks.
Leading up to the Dino Dig, students have learned about dinosaur names, adaptations, diets, and habitats, as well as the role of paleontologists and how dinosaur fossils get to a museum. They’ve created their own dinosaurs in the classroom, painted them and decorated the walls with their work.
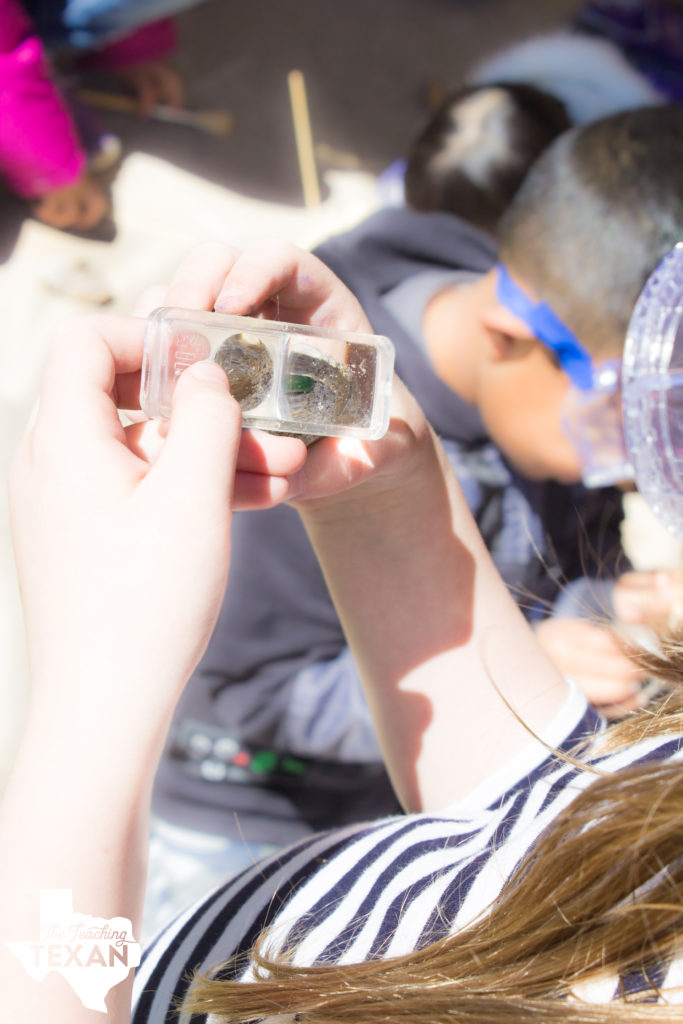
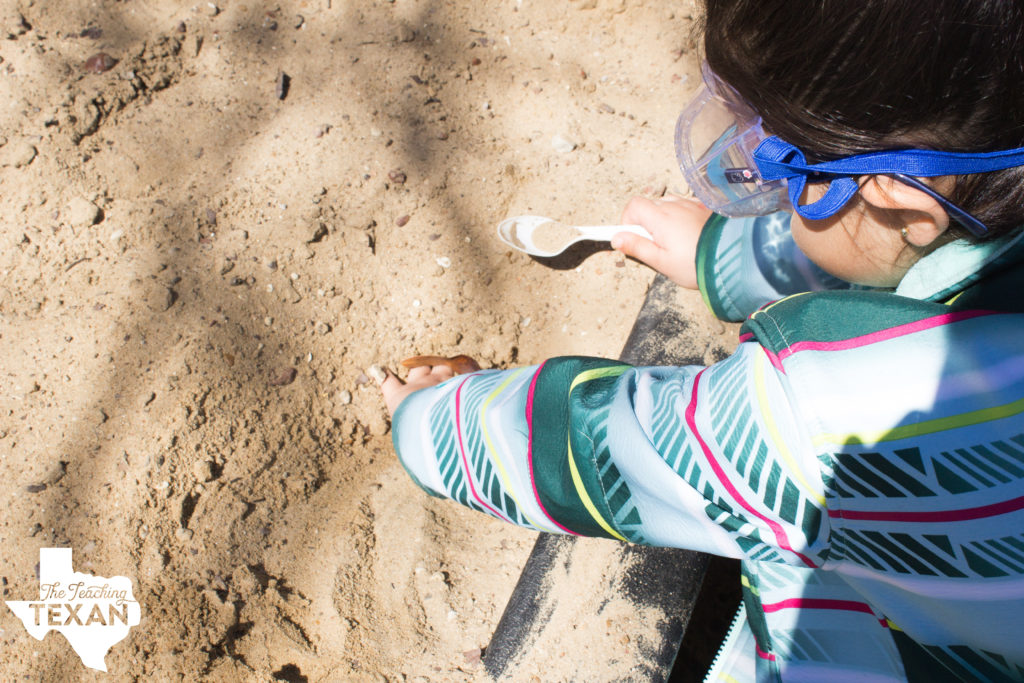
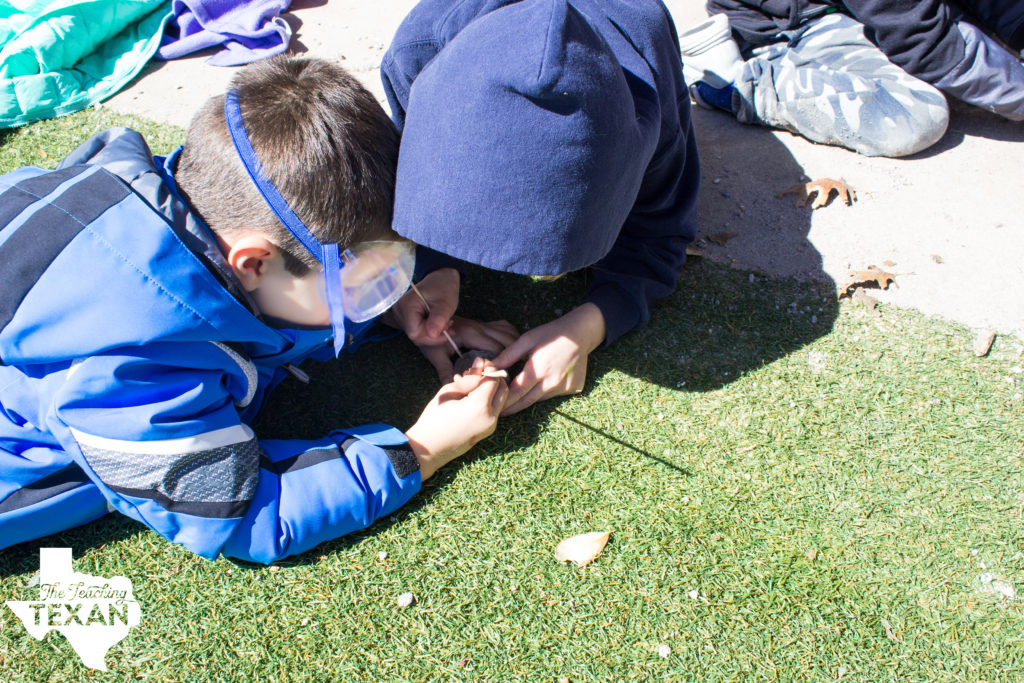
Basically, by the time we get to the Dino Dig, every Kinder friend is begging to be a paleontologist. In class, we talk about all the different tools paleontologists use and then for our Dino Dig, students get to use the tools themselves. We also use the “Kinder Version” of paleontologist’s tools too, so don’t worry about having the “right equipment”. Toothpicks, plastic spoons, brushes, popsicle sticks, hand lenses, and goggles (or a varying combination of any of these) all work fine.
When digging, remind students to treat the activity as if they are real paleontologists at the excavation site. I always love an opportunity for my students to use their imaginations. Psychology Today is one of many sources that states, “Imaginative play is a vital component to normal child development.” Studentsshould dig as if they are finding real fossils – take their time, be gentle, etc. – that’s half the fun!
Alright, let’s get down to the nitty gritty. Here’s how it’s done. This activity works best, I’ve found, if you talk it up to your students for about a week in advance. That way they’re excited for the activity. Also, it gives you some time to prep for the dig.
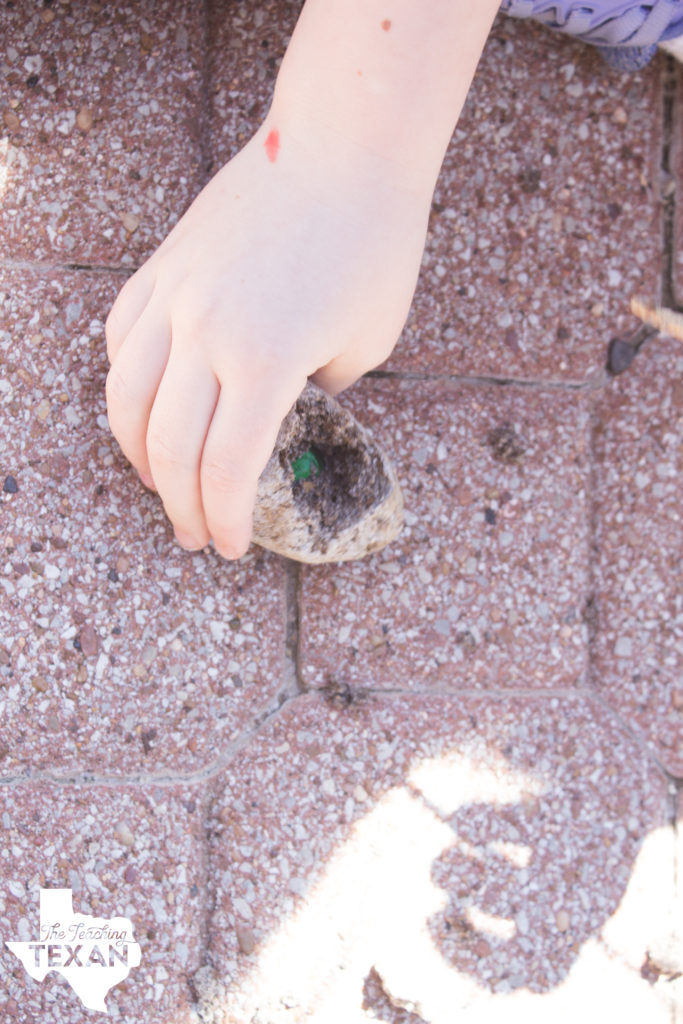
First, you will need a few days to prep the dinosaur “fossils”.
Fossil recipe:
- 2 Cups of Flour
- 1 Cup of Salt
- 1 Cup of Fresh Ground Coffee
- 1 Cup of Water
- Small plastic dinosaurs [Like these from Amazon – affiliate link]
**You may need to multiply this recipe based on how big you make the fossils, how many fossils you want each student to find, and how big your class is.**
Combine all ingredients in large bowl until dough forms. Make ball in hand, press plastic dinosaur into it, form around into an egg-like shape. Allow to dry for several days or speed up in 200-degree oven as needed.
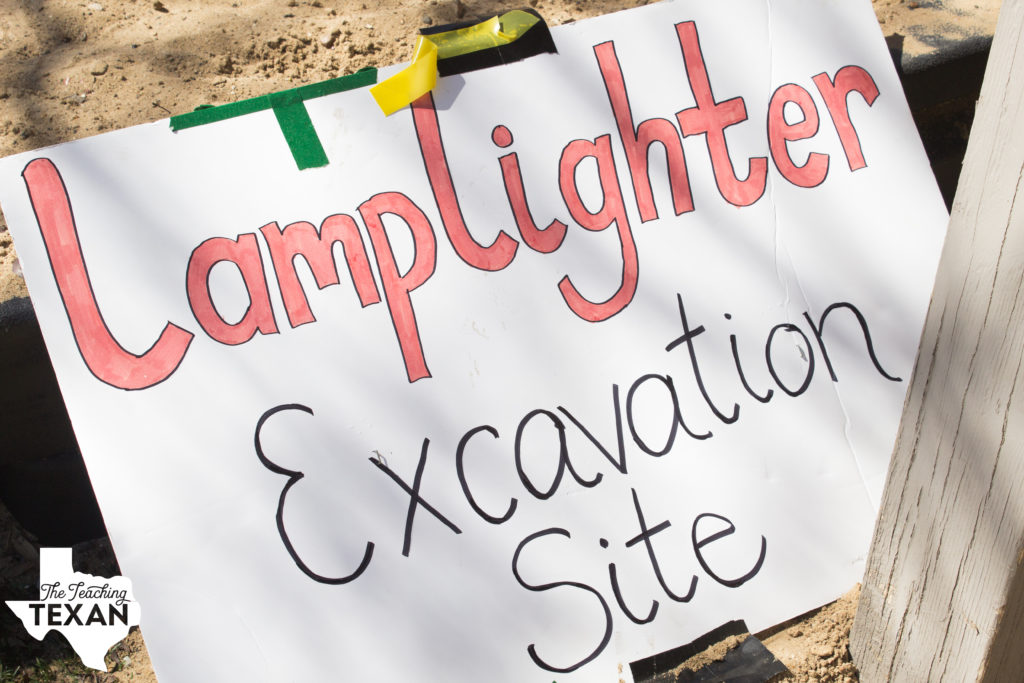
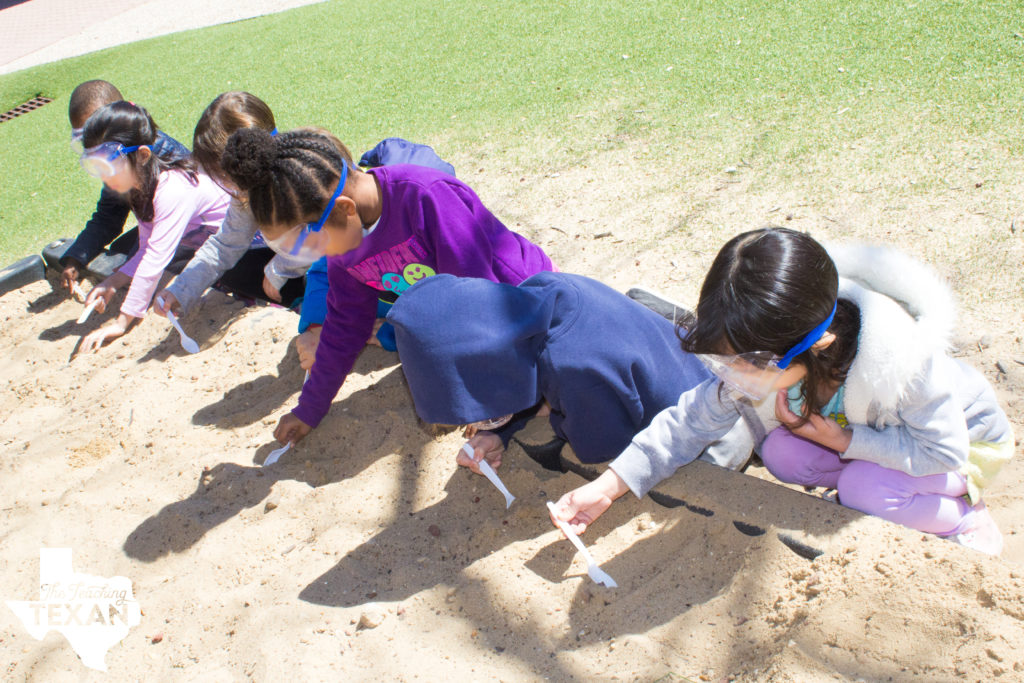
On the day of the dig, you’ll need a few minutes (about 10-20 minutes) before the activity without students present to hide the fossils at the excavation site. Your excavation site can be any place outside where your class can work. Our class uses a sandbox, but if your school doesn’t have a sandbox you can easily make do with a patch of grass, a graveled area, or a space covered in wood chips.
Take your class out to the excavation site and get ready to explore! I like to have students share their findings in a large group afterwards.
Have a blast with your Dino Dig – I can’t wait to hear all about it!

Need some more dino inspiration or resources? Check out my [Into the Land of the Dinosaurs] unit! This unit is packed full of non-fiction goodness – leveled readers, writing prompts, vocabulary posters, and more!