A Teacher Planner Dilemma
The other day I asked my readers if you used paper and pencil for planning or digital planning. I definitely had a mix of responses, which is great! Everyone has different preferences when it comes to keeping dates and planning lessons.
My preference is definitely paper and pencil/pen. I’ve tried so hard to do the whole digital calendar deal, but even with alarms set I still manage to forget things!
I guess it all goes back to upper elementary school and middle school when we had to keep planners with everything inside. It was a great skill to learn, but darnit if old habits don’t die hard!
Anyway, I bought a planner from a well known planner company last year despite the hefty price tag. To be honest I loved the planner! Well as I was searching around this year I saw some not so nice reviews about this planner company. Yes, I am aware that it is generally dissatisfied customers that are often more verbal about their feelings than are satisfied customers. I still didn’t want to chance paying that much money and not getting what I paid for. Plus, I couldn’t find a design that was exactly what I wanted.
I searched and searched for a different source to buy a planner but most were too feminine, or it was going to take 4-6 weeks to even ship! So… what did I do?
I made my own!

Now, my whole point here is that it really was not so difficult for me to do this myself and maybe I will inspire someone else to get creative (and save some money!).
Hang with me as I give you a virtual tour of my new planner, and then I’ll tell you just how much this baby cost me! Trust me, you’ll be as surprised as I was.

Inside the cover. I chose to include some of my favorite inspirational quotes throughout for when times get tough. I also included a 2 page Year at a Glance page so that I can jot down big themes, etc.
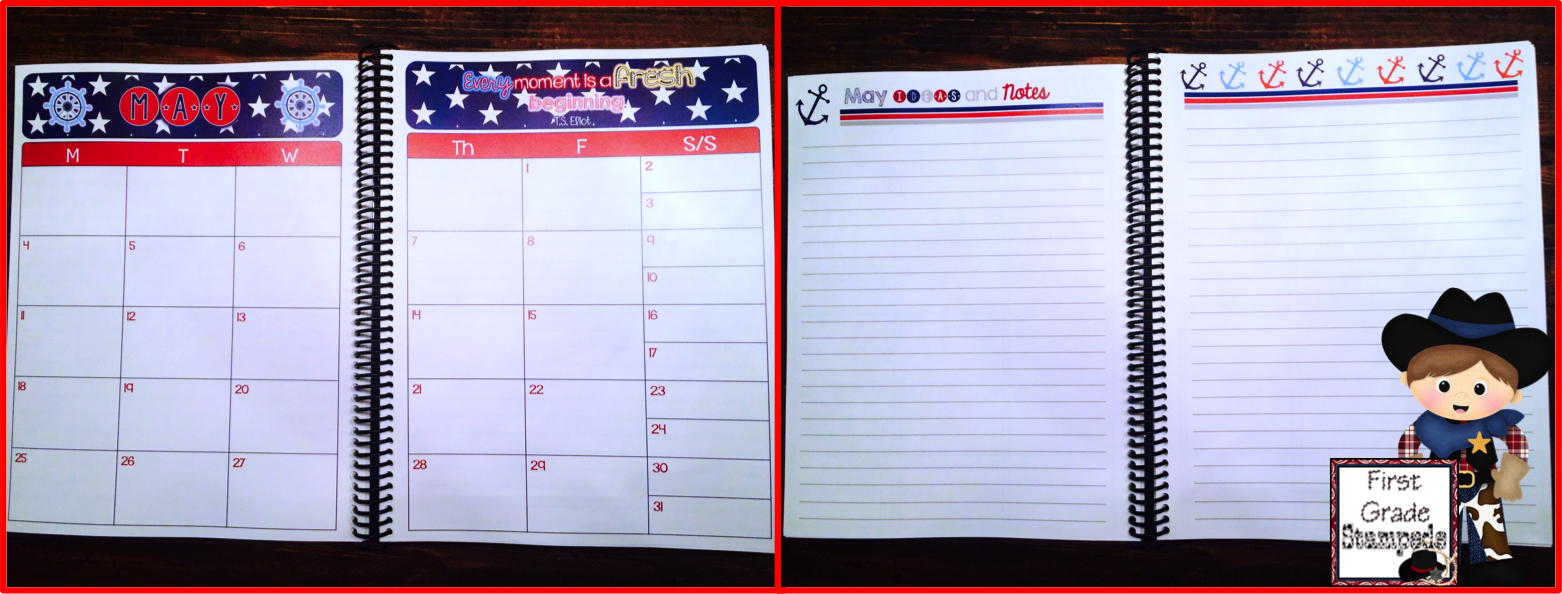
For each month I included a double page spread to keep track of appointments, extracurriculars, and anything else that pops up along the way! I’m big on taking notes – but misplace lose them! So, I knew it was important to have notes right inside my planner. I put a double page spread for each month to jot down important info from PD sessions, team meetings, etc.

And here is arguably the most important section of the planner. The lesson planning pages. Now, I probably won’t keep the detailed plans that I’ll have to submit here. Rather I will use the space to jot down materials I’ll need and the big idea of each lesson. I don’t like to teach with a copy of the lesson plan in front of me anyway, so this is a perfect refresher to see what’s coming up.

Finally, I have some pages for student checklists where I will check off when students turn in homework, bring back permission slips, etc. I also added some general note taking pages at the back just in case.
So that’s my planner in a nutshell. Ok, not quite a nutshell but you get the picture. I spent about 5 days designing the whole thing in PowerPoint and used all clip art that I had already purchased (BONUS!).
After printing the whole thing on 65 lb paper (this is important for longevity of the planner), I had Office Max laminate the front and back cover with 110 mil lamination and then bind the whole thing.
Ready to know how much it cost me? With the cost of the paper, lamination, and binding I spent a grand total of $13!!! I mean seriously, where can you get a planner for $13??
So, have I inspired you to create your own planner? You could even use the same type of template for a digital planner that you type right into.
If you absolutely love my Nautical Theme Teacher Planner, you can actually grab a copy of the EDITABLE digital file [here].
Check back tomorrow for a fun 5 for Friday post!

